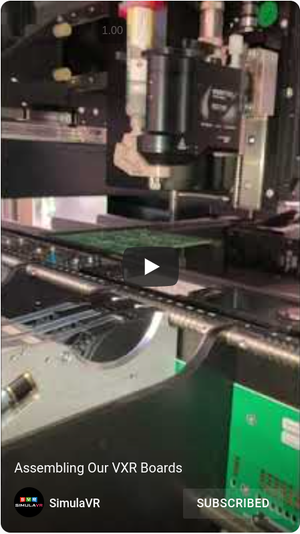
We just picked up a batch of our principal boards (two of each) from our PCBA:

1 VXR Board
Our VXR PCB is the board which splits a DisplayPort link from our compute pack into two MIPI-DSI links (which are then fed into our VR displays). Here's what they look like:

And here's a video of them being assembled (last week we were only able to show them being paste printed):
The bad news: the VXRs are unfortunately unoperational due to a level chip being installed the wrong way during assembly (this broke the voltage regulator on both boards before the issue was discovered). We're waiting again for our PCBA to ship us some new ones. Once we have them, we'll be able to proceed forward with integration testing.
2 Display Interposers
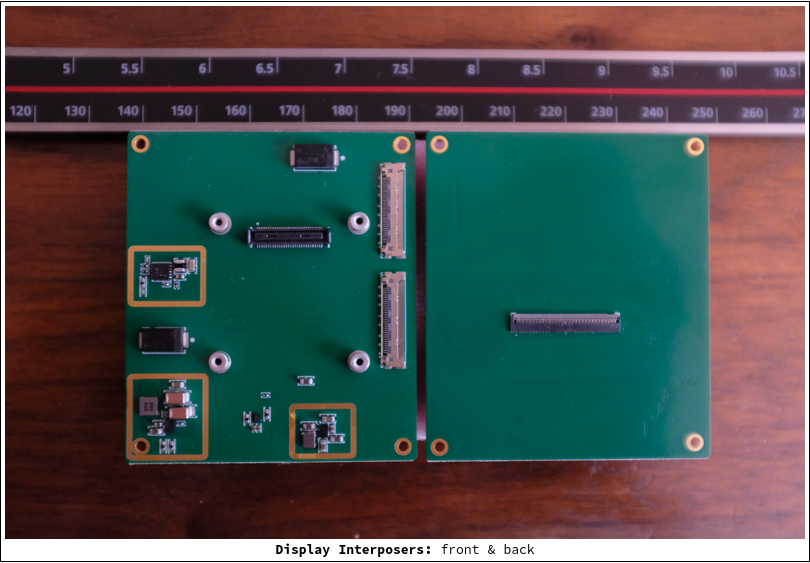
Our Display Interposers connect our VR displays to the VXR; they will also connect our cameras to an FPGA. Here's what they look like assembled:
And here's us test fitting the interposers against the actual VR displays:
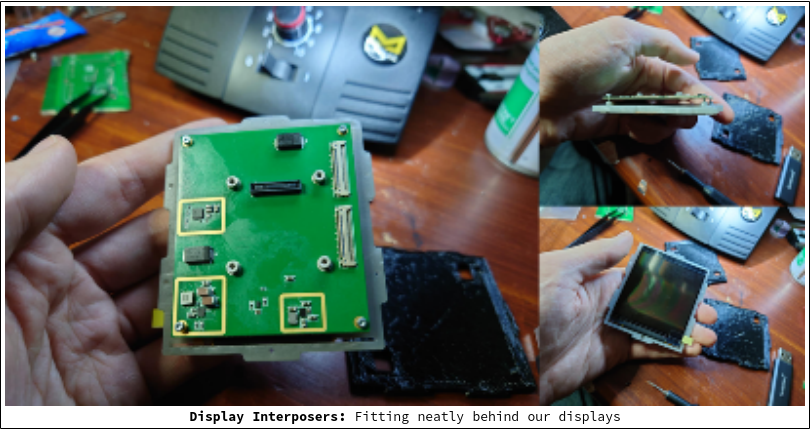
Though we need shorter screws, the design works. We'll be able to test the board electronically once we receive our latest VXR.
3 Connector Board
Our "Connector Board" refers to an I/O PCB which connects our compute unit to the VXR and Intel RealSense (used for positional tracking in our review units). Here's a front and back shot:

We've actually verified this one is functioning electronically. 👍
4 Testing the Boards for Headset Fit
Overall, the boards fit into our review unit exterior pretty well. The blue cables shown here are for connecting the 2 Display Interposers to the VXR board:
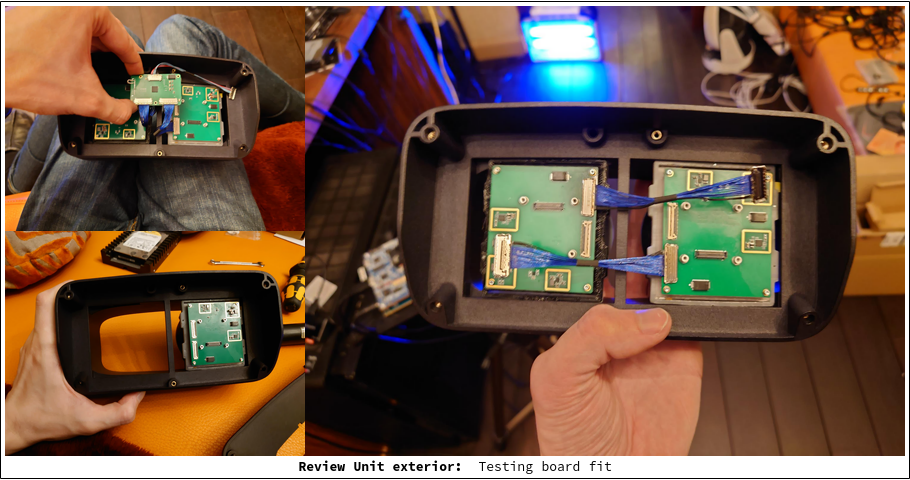
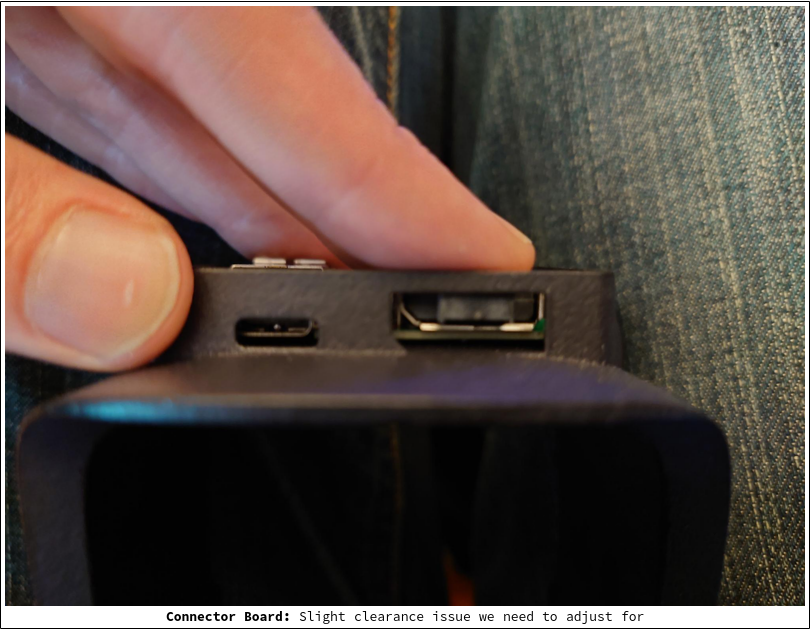
There was however a slight clearance issue with our Connector Board:
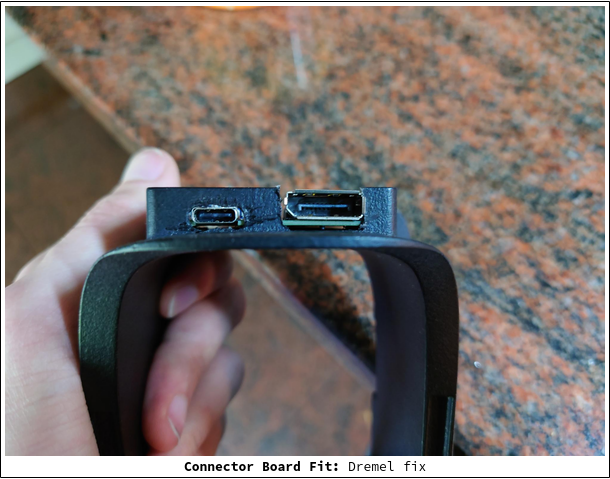
We edged things down with a Dremel for now to get around this:
5 Finished Laminar Flow Bench
In other news, the components for our laminar flow bench finally shipped. It's now assembled and ready for action:
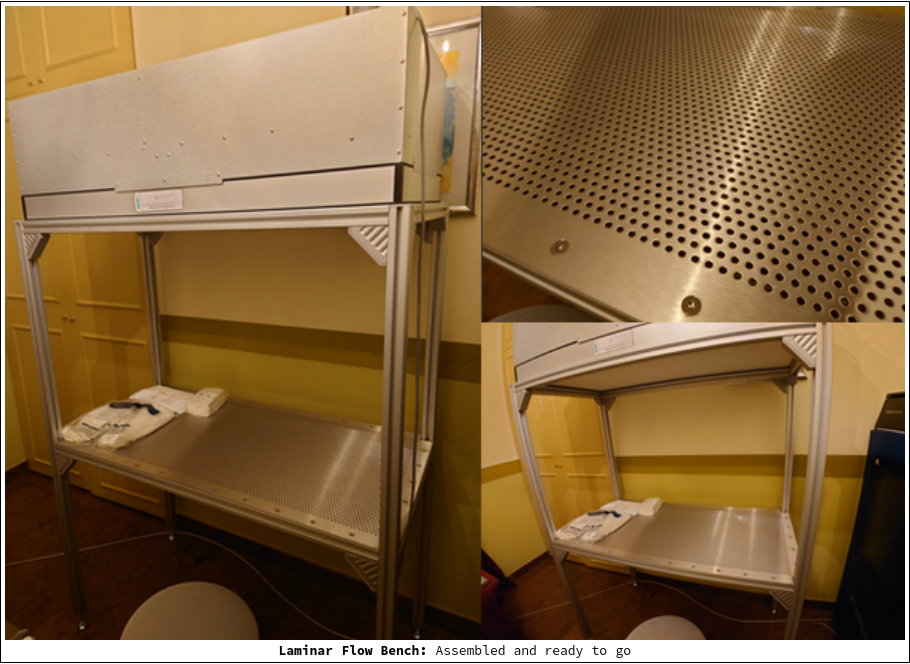
Recall these benches allow us to assemble VR lenses in a dust-free environment.
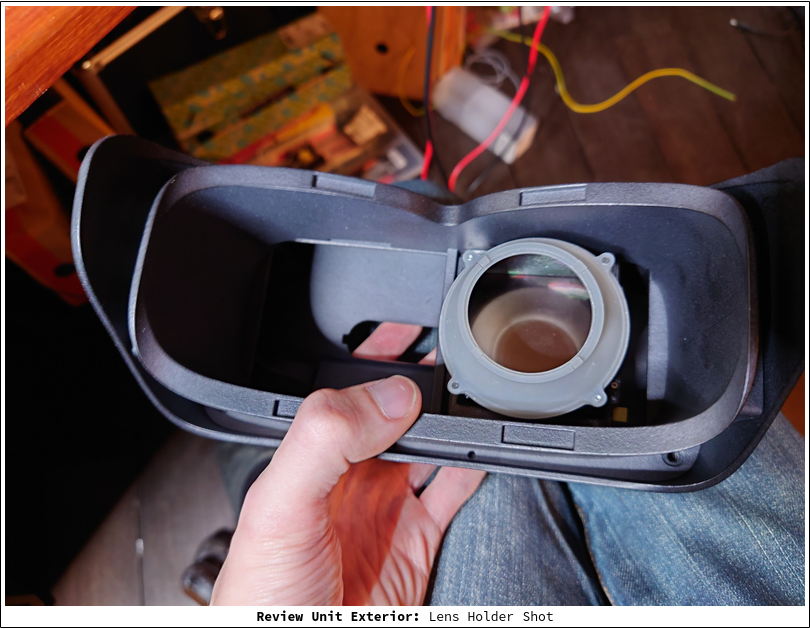
Looking forward to using it with our first Review Unit soon!
